February 6th, 2025
Summer means adventure for 4WD enthusiasts – from conquering muddy trails and river crossings to tackling coastal tracks and remote camping spots. Whether you’ve been splashing through creek beds, grinding through bush tracks or cruising along beach trails, your trusty 4WD has been your ticket to freedom. But while you’ve been creating those epic summer memories, your vehicle has been battling some fierce enemies: mud, sand, salt and debris.
The Silent Threats To Your 4WD
The enemies of your 4WD are sneaky operators. Mud might dry and flake away on the surface, but underneath it’s holding moisture against metal components. Leaf matter and organic debris break down into acidic compounds that accelerate corrosion. And if you’ve been near the coast, salt spray creates the perfect recipe for rust in places you can’t even see.
The tricky part? By the time you spot visible damage, it’s already well underway beneath the surface. That’s why preventative maintenance isn’t just a good idea – it’s essential for protecting your investment. A thorough post-summer inspection and treatment can save you thousands in repairs down the track and keep your 4WD ready for next season’s adventures, whether they’re in the bush, on the beach or anywhere in between.
Your Post-Summer Inspection Checklist
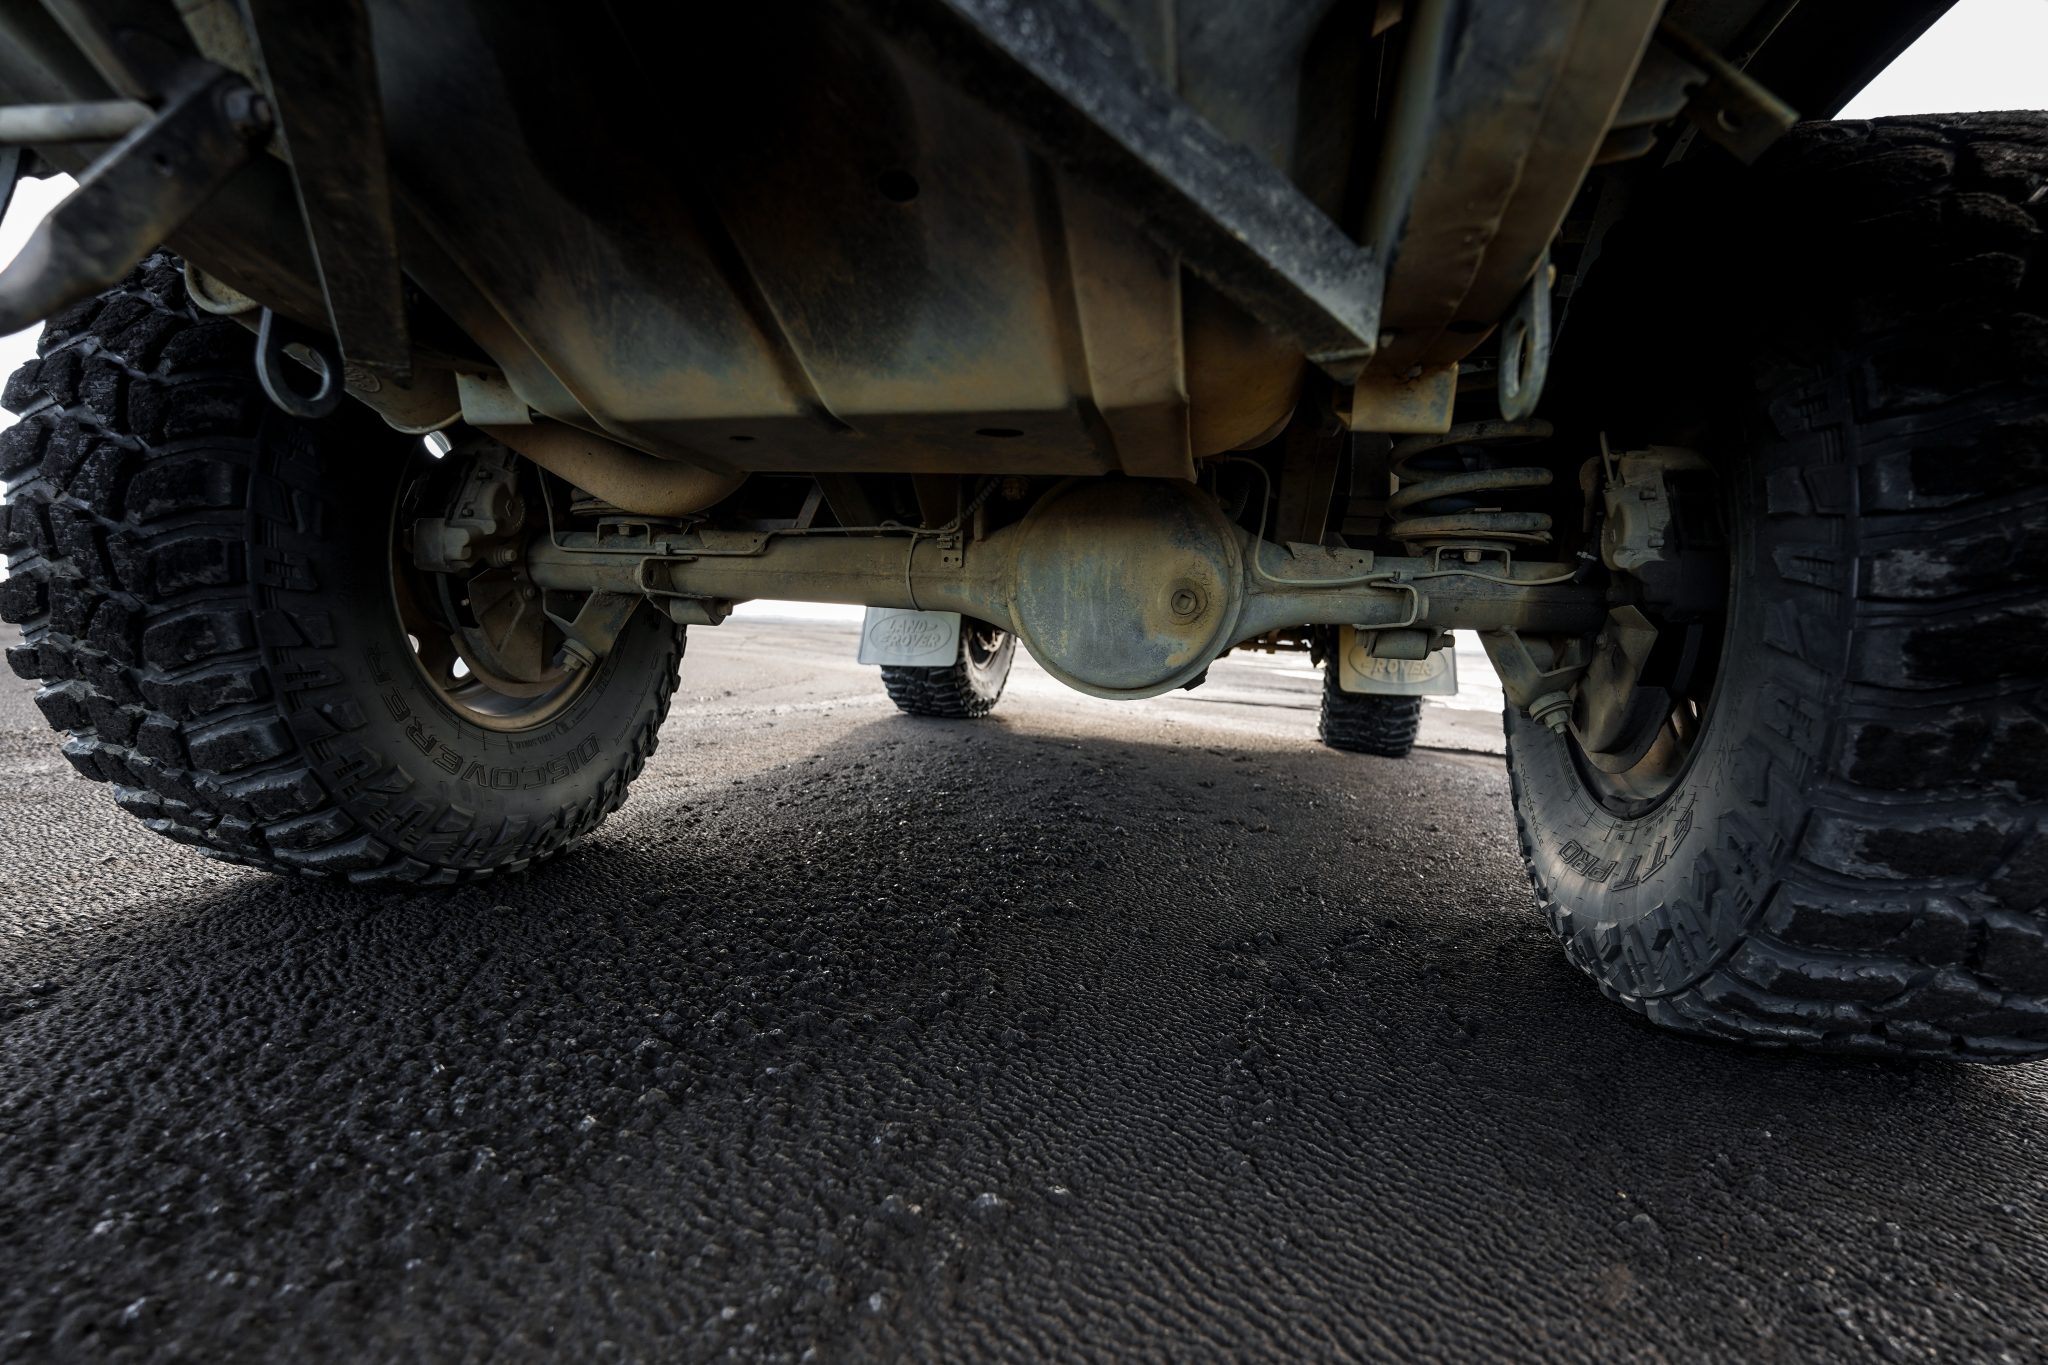
1. Undercarriage: Your Vehicle’s Vulnerable Underbelly
The undercarriage of your 4WD takes the brunt of beach driving abuse. Here’s how to clean and protect it:
- Safely support your vehicle on stands with wheels removed.
- Examine the underbody for any oil or grease patches that could signal a problem, before pressure washing the entire undercarriage to remove loose debris.
- Once the vehicle has dried, inspect all underbody surfaces, paying special attention to:
- Chassis rails
- Suspension components
- Mounting points
- Cross members
- Look for any damage, cracks and oxidation on any metal, rubber and poly-nylon components. If you see ANYTHING that looks like it could be a safety issue, consult with a professional mechanic.
- If you encounter stubborn areas, spray on INOX MX3 and allow it to penetrate for 10-15 minutes.
- Use a wire brush to remove any loosened rust or debris.
- Wipe clean with a rag.
- Apply a final coat of LANOX MX4 for lasting protection.
2. Wheel Wells & Brakes: Where Performance Meets Protection
Your brakes are crucial for safety and proper cleaning can prevent expensive repairs. Follow these steps:
- Remove each wheel for complete access.
- Check brake calipers and rotors for signs of corrosion.
- Inspect wheel wells for trapped sand and debris.
- Spray INOX MX11 Chain & Brake Cleaner to remove surface grime and brake dust.
- Inspect brake calipers, rotors and lines for corrosion. If you see ANYTHING that looks like it could be a safety issue, consult with a professional mechanic.
- Clean wheel wells thoroughly with a pressure washer.
- Apply INOX MX8 to:
- Brake caliper mounting brackets
- Caliper sliding pins
- Wheel studs and nuts
- Wipe off excess product from brake rotors and pads and spray with INOX MX11 Chain & Brake Cleaner.
- Re-install wheels and test brake operation.
3. Body Protection: Defending Your 4WD’s Good Looks
Your vehicle’s body panels contain numerous water traps that need attention. Here’s how to protect them:
- Open all doors and tailgate.
- Check front fenders and sills for trapped debris.
- Inspect door jams and seals for sand accumulation.
- Clean door jambs and sills thoroughly.
- Use compressed air to blow debris out from inside the front fender cavities, using a set of tongs or a similar tool as needed. Do the same with drain holes and channel gaps to clear drainage paths and prevent future blockages and problems.
- Wipe all surfaces dry with a microfiber cloth.
- Apply LANOX MX4 to:
- Door hinges and latches
- Body panel seams and joints
- Drainage channels
- Work the door hinges through their full range of motion.
4. Engine Bay: Protecting Your Power Plant
Salt spray and grime in your engine bay can cause electrical issues and corrosion. Follow these steps to protect it:
- Let the engine cool completely.
- Cover sensitive electrical components with plastic sheeting.
- Apply engine degreaser and rinse carefully.
- Dry thoroughly with compressed air.
- Apply INOX MX3 to:
- Battery terminals and clamps
- Ground points
- Metal brackets and fasteners
- Hood hinges and latch
- Start engine and check for any warning lights.
- Wipe excess product from painted surfaces and rubber hoses.
Stock Up On INOX Today
Remember, prevention today means performance tomorrow – get INOX and keep your 4WD ready for whatever challenge comes next. Visit our store locator to find your nearest INOX stockist and give your adventure companion the protection it deserves.